
Include Oblique Imagery
In addition to nadir imagery, it is important to also capture oblique imagery — or a side-view perspective — for any vertical structure you are modeling. Here, it might be helpful to think of your drone as a spray can, and the images as paint. To make an accurate model, you want to take enough pictures to coat the entire structure with one coat of paint. This means taking pictures of the entire surface area of the structure.
3D modeling, rendering and animation expert Jeff Foster, co-founder of Sound Visions Media and editorial director of Drone Coalition, recommends flying two additional orbital flights around a structure to capture oblique imagery and improve the accuracy of your model.
To improve the accuracy of 3D models, fly at least two orbital flights around a structure, recommends Drone Coalition’s Jeff Foster.
Plan Tiered Flights at Varying Heights
DroneDeploy’s manual orbital flight mode captures one set of oblique images taken at the same altitude as the original mission. Depending on the structure being modeled, some drone operators choose to capture additional sets of oblique photos as well. It is always possible to capture oblique images manually and include these in your DroneDeploy upload. Because all drone-generated images are geotagged, you can take them in any order and DroneDeploy’s 3D mapping software will recognize them and arrange them into your model accordingly.
Tarek Maalouf creates drone-generated 3D models and prints for architects, builders and construction companies, and also produces custom drones through his company, Maalouf Properties LLC. For a one-story building, he recommends two manual orbital flights, taken at roughly equidistant heights. On a two-story building, he increases to three passes. On a three-story building, he increases to five passes.
“The key is planning out ahead of time how many pictures I take,” advises Tarek. “It’s not so much how many pictures you get that’s going to make the better model.” Instead, he says, it’s all about taking the right pictures at the right heights.
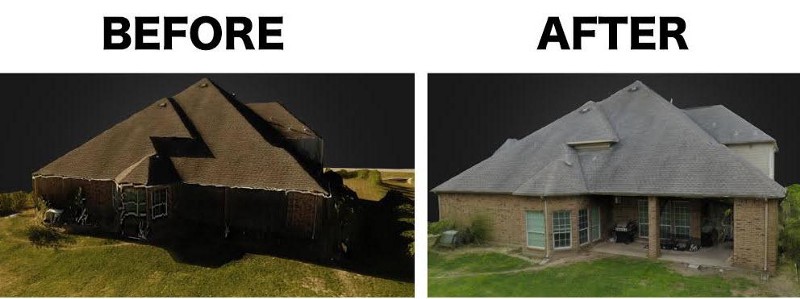
For the house pictured below, Tarek captured about 40 images per orbit.
Capture Additional Oblique Photos from Multiple Angles
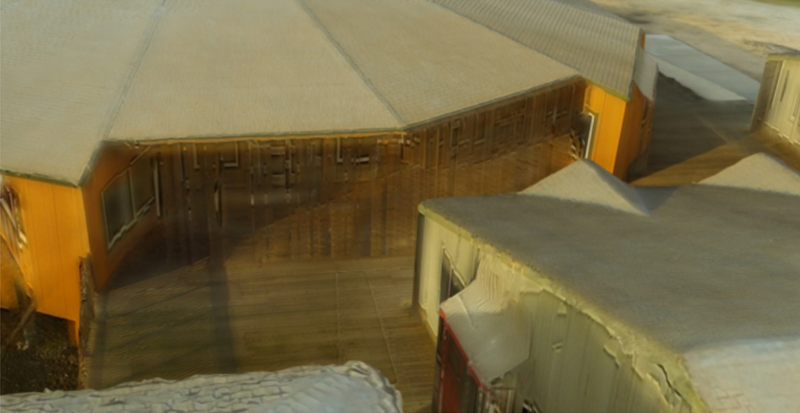
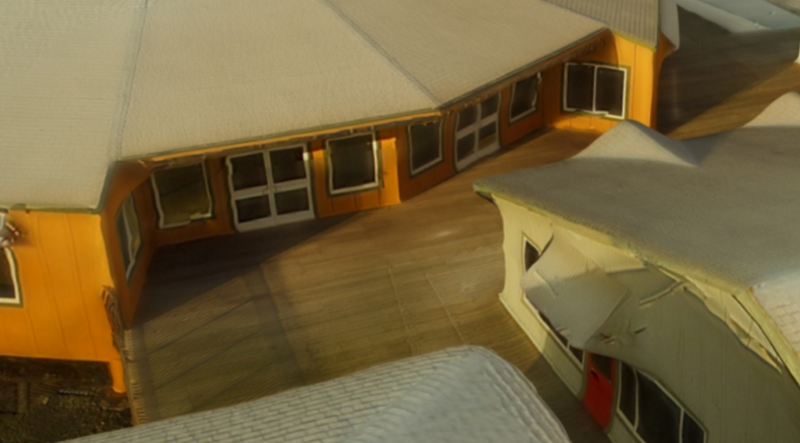
A final point to consider is the angle at which you capture oblique photos. 3D mapping software is able to stitch oblique images best when there is no sky in the background, although that is sometimes unavoidable. Steeper camera angles usually capture less sky. That being said, flying at least one orbit at a lower altitude and a shallower angle is helpful when creating a 3D model of an object that has overhanging features, such as roofs, eaves or archways.
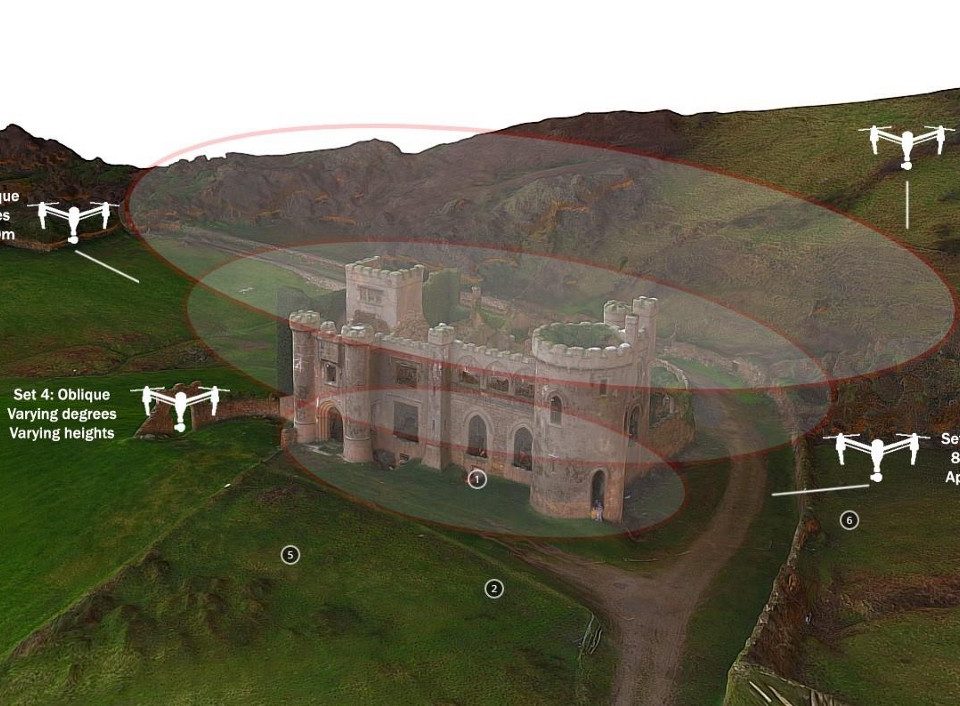
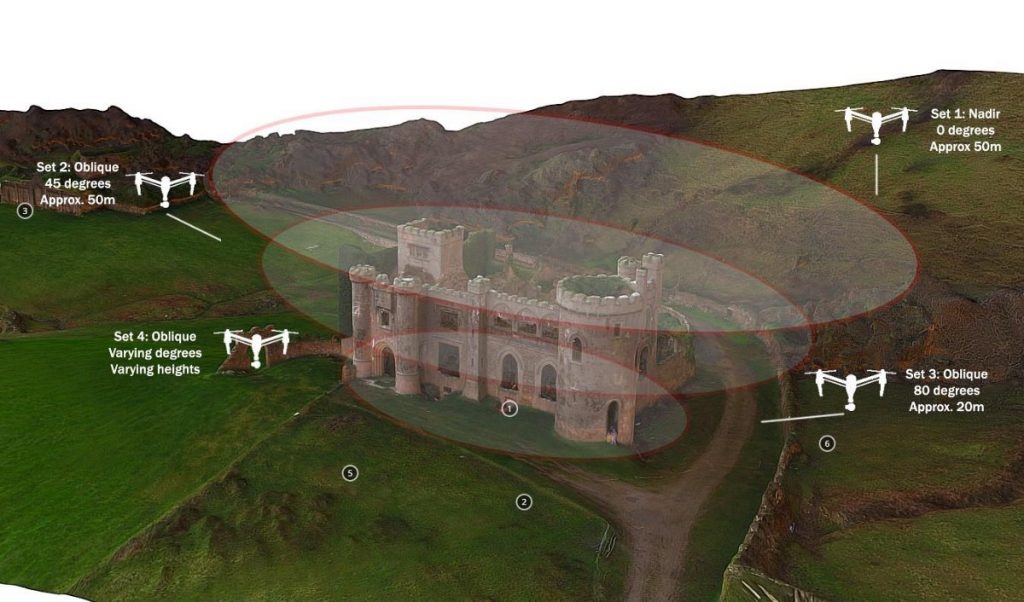
Fearghus Foyle of Aerial Eye, one of Ireland’s leading UAV services companies, recently created a 3D model of an eighteenth-century castle using this method. As you can see in the diagram below, he captured three sets of oblique images taken at various heights and angles.
As you gain more experience with 3D models, you will find the angles and heights that work best for each type of project. As a good starting point, we recommend at least two orbits:
Oblique orbit 1: 45 degrees, same height as the original nadir flight.
Oblique orbit 2: 30 degrees, at about half the altitude.
Practice makes perfect. Creating drone-generated 3D models is no exception. By following these tips, you will be well on your way to making the most of DroneDeploy’s 3D mapping software.